

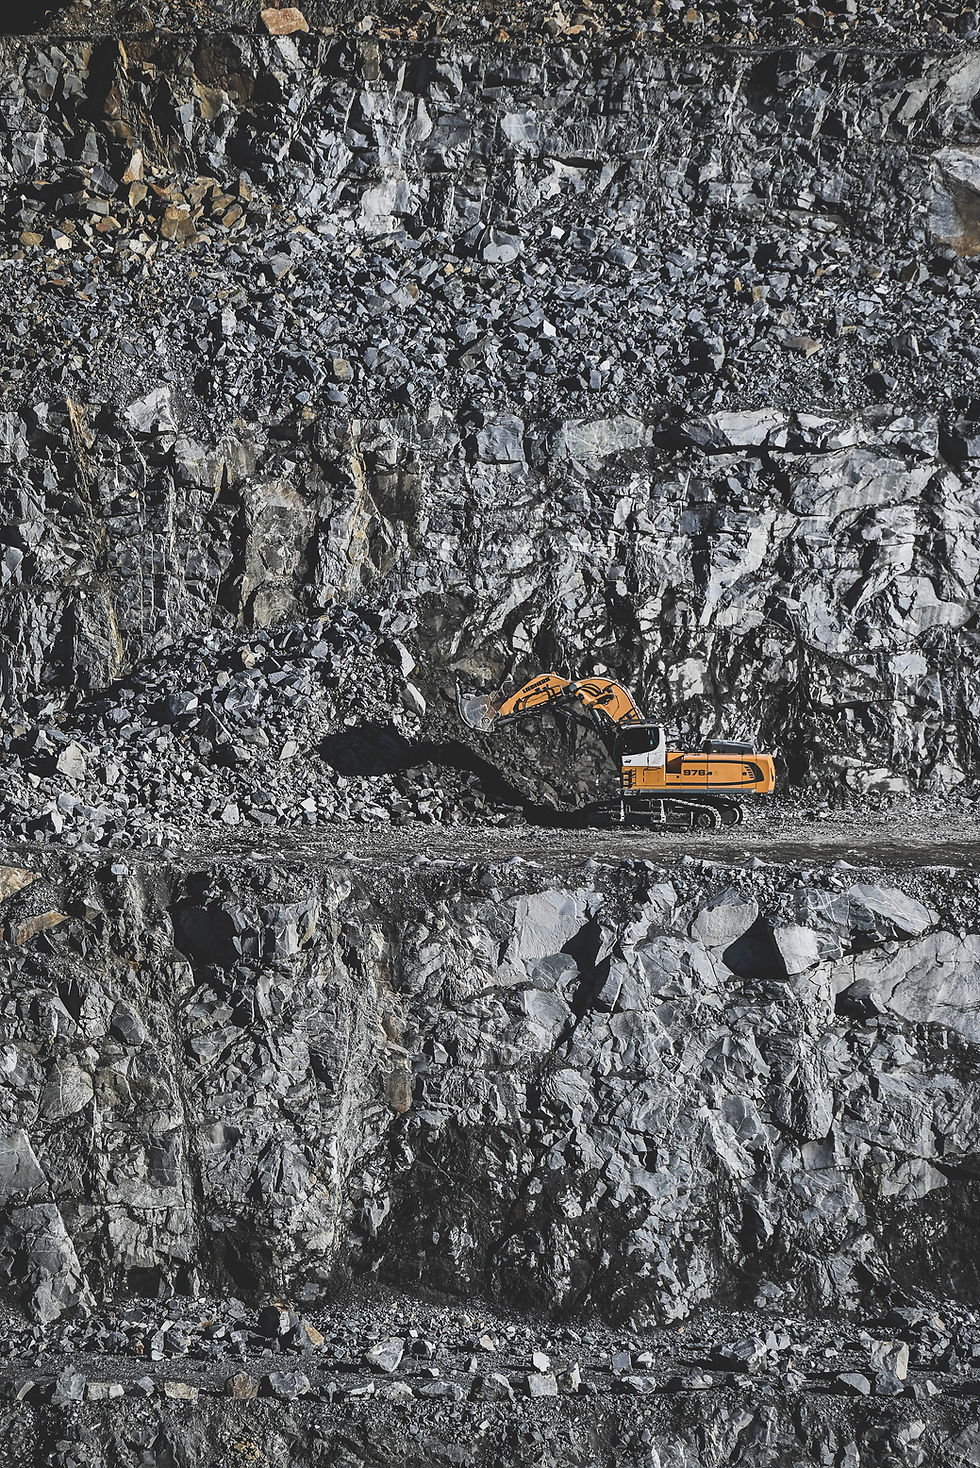
STEP 1
TRIMMED BLOCKS
Initial Preparation
Blocks are carefully trimmed to ensure uniform dimensions.
Quality Control
Each block undergoes inspection for structural integrity.
Precision Cutting
Trimming creates clean edges for the next processing stage.

STEP 2
TRIMMED BLOCKS READY FOR CUTTING
Preparation Complete
Blocks have been trimmed to precise specifications. They are now ready for the wire cutting process.
Quality Assurance
Each block is inspected for flaws. Only perfect specimens proceed to cutting.
Dimensional Precision
Consistent block dimensions ensure uniform slabs and minimize
waste.
STEP 3
WIRE CUTTING TECHNOLOGY
Block Measuring
Precise dimensions are verified before processing.
Machine Setup
Cutting wires are tensioned and properly aligned.
Cutting Process
Diamond-coated wires slice through water cooling.
Inspection
Cut slabs are examined for dimensional accuracy.
STEP 4
SLAB CUTTING
Advanced Multi-Wire Gang Saws
Our saw utilises 71 cutting wires simultaneously. This allows for precise parallel cuts.
Maximum Efficiency
Each cutting cycle yields 70 uniform stone blocks. This ensures consistent dimensions throughout production.
Precision Calibration
Wire tension and cutting speed are computer-controlled. This minimises waste and optimises material usage.

STEP 5
POST CUTTING INSPECTION
Dimensional Accuracy
Each cut block undergoes measurement to ensure compliance with specifications. Tolerance levels are maintained at ±0.5mm.
Surface Evaluation
Freshly cut surfaces are inspected for wire marks or inconsistencies. This identifies blocks requiring additional processing.
Material Classification
Blocks are sorted by quality grade and aesthetic characteristics. This ensures appropriate allocation for various applications.
STEP 6
GRINDING PROCESS
Coarse Grinding
Initial abrasives remove saw marks and level the surface.
Wet Processing
Water cooling prevents heat damage and captures stone dust.
Fine Grinding
Progressively finer abrasives create smooth, uniform surfaces.
60-Grit Abrasive
Initial rough grinding removes saw marks.
120-Grit Abrasive
Medium grinding smooths surface irregularities
220-Grit Abrasive
Fine grinding prepares for polishing stage.
Continuous Cooling
Water flow prevents thermal stress during process.
STEP 7
EXPOXY APPLICATION
Cleaning and Preparation
Slabs are thoroughly cleaned to remove all residue. This ensures proper epoxy adhesion.
Epoxy Application
A uniform layer of high-grade epoxy is applied. This fills micro- fissures and strengthens the stone.
Controlled Curing
Temperature and humidity are precisely regulated. This optimises chemical hardening for maximum strength.
Final Inspection
Cured slabs are examined for coating uniformity. This ensures surface readiness for polishing.
STEP 8
POLISHING
Mirror Finish
Final high-gloss appearance. Aesthetic enhancement.
Multi Head Operation
Multiple polishing heads work simultaneously. Increased production efficiency.
Wet Polishing
Water-cooled process. Prevents overheating.
Progressive Sequence
From coarse to ultra-fine abrasives. Optimal surface finish.
STEP 9
PACKAGING
Strong, Customised Pallets for Every Slab
Each granite slab is placed on heavy-duty rubber or pine wood pallets, carefully sized to match slab dimensions. This ensures maximum support and stability during storage and transport.
Engineered for Safe Global Shipping
Our pallets are designed for seamless container loading. Slabs are stacked with protective materials between each layer and braced securely to avoid movement or impact during transit.
Weight-Balanced Loading with Quality Verification
We use forklifts to strategically stack and load pallets, evenly distributing weight to maximise container space. Final inspections ensure every shipment is secure, protected, and ready for international delivery.


